Using zsh on Windows
This is part of the "Setting Up a Cross-Platform Development Experience" series, where I simplify my own user experience across my macOS and Windows machines for general use and software development.
Table of Contents
One of the long-time arguments that favor macOS over Windows for developers is that macOS Terminal can run Unix commands while Windows Command Prompt cannot. However, since most servers worldwide are UNIX-based, it is common advice for developers to be familiar with Unix commands as much as possible.
Today, this argument holds little weight as there are plenty of ways Windows users can install a Unix shell like bash easily with Git Bash and Windows Subsystem for Linux (WSL).
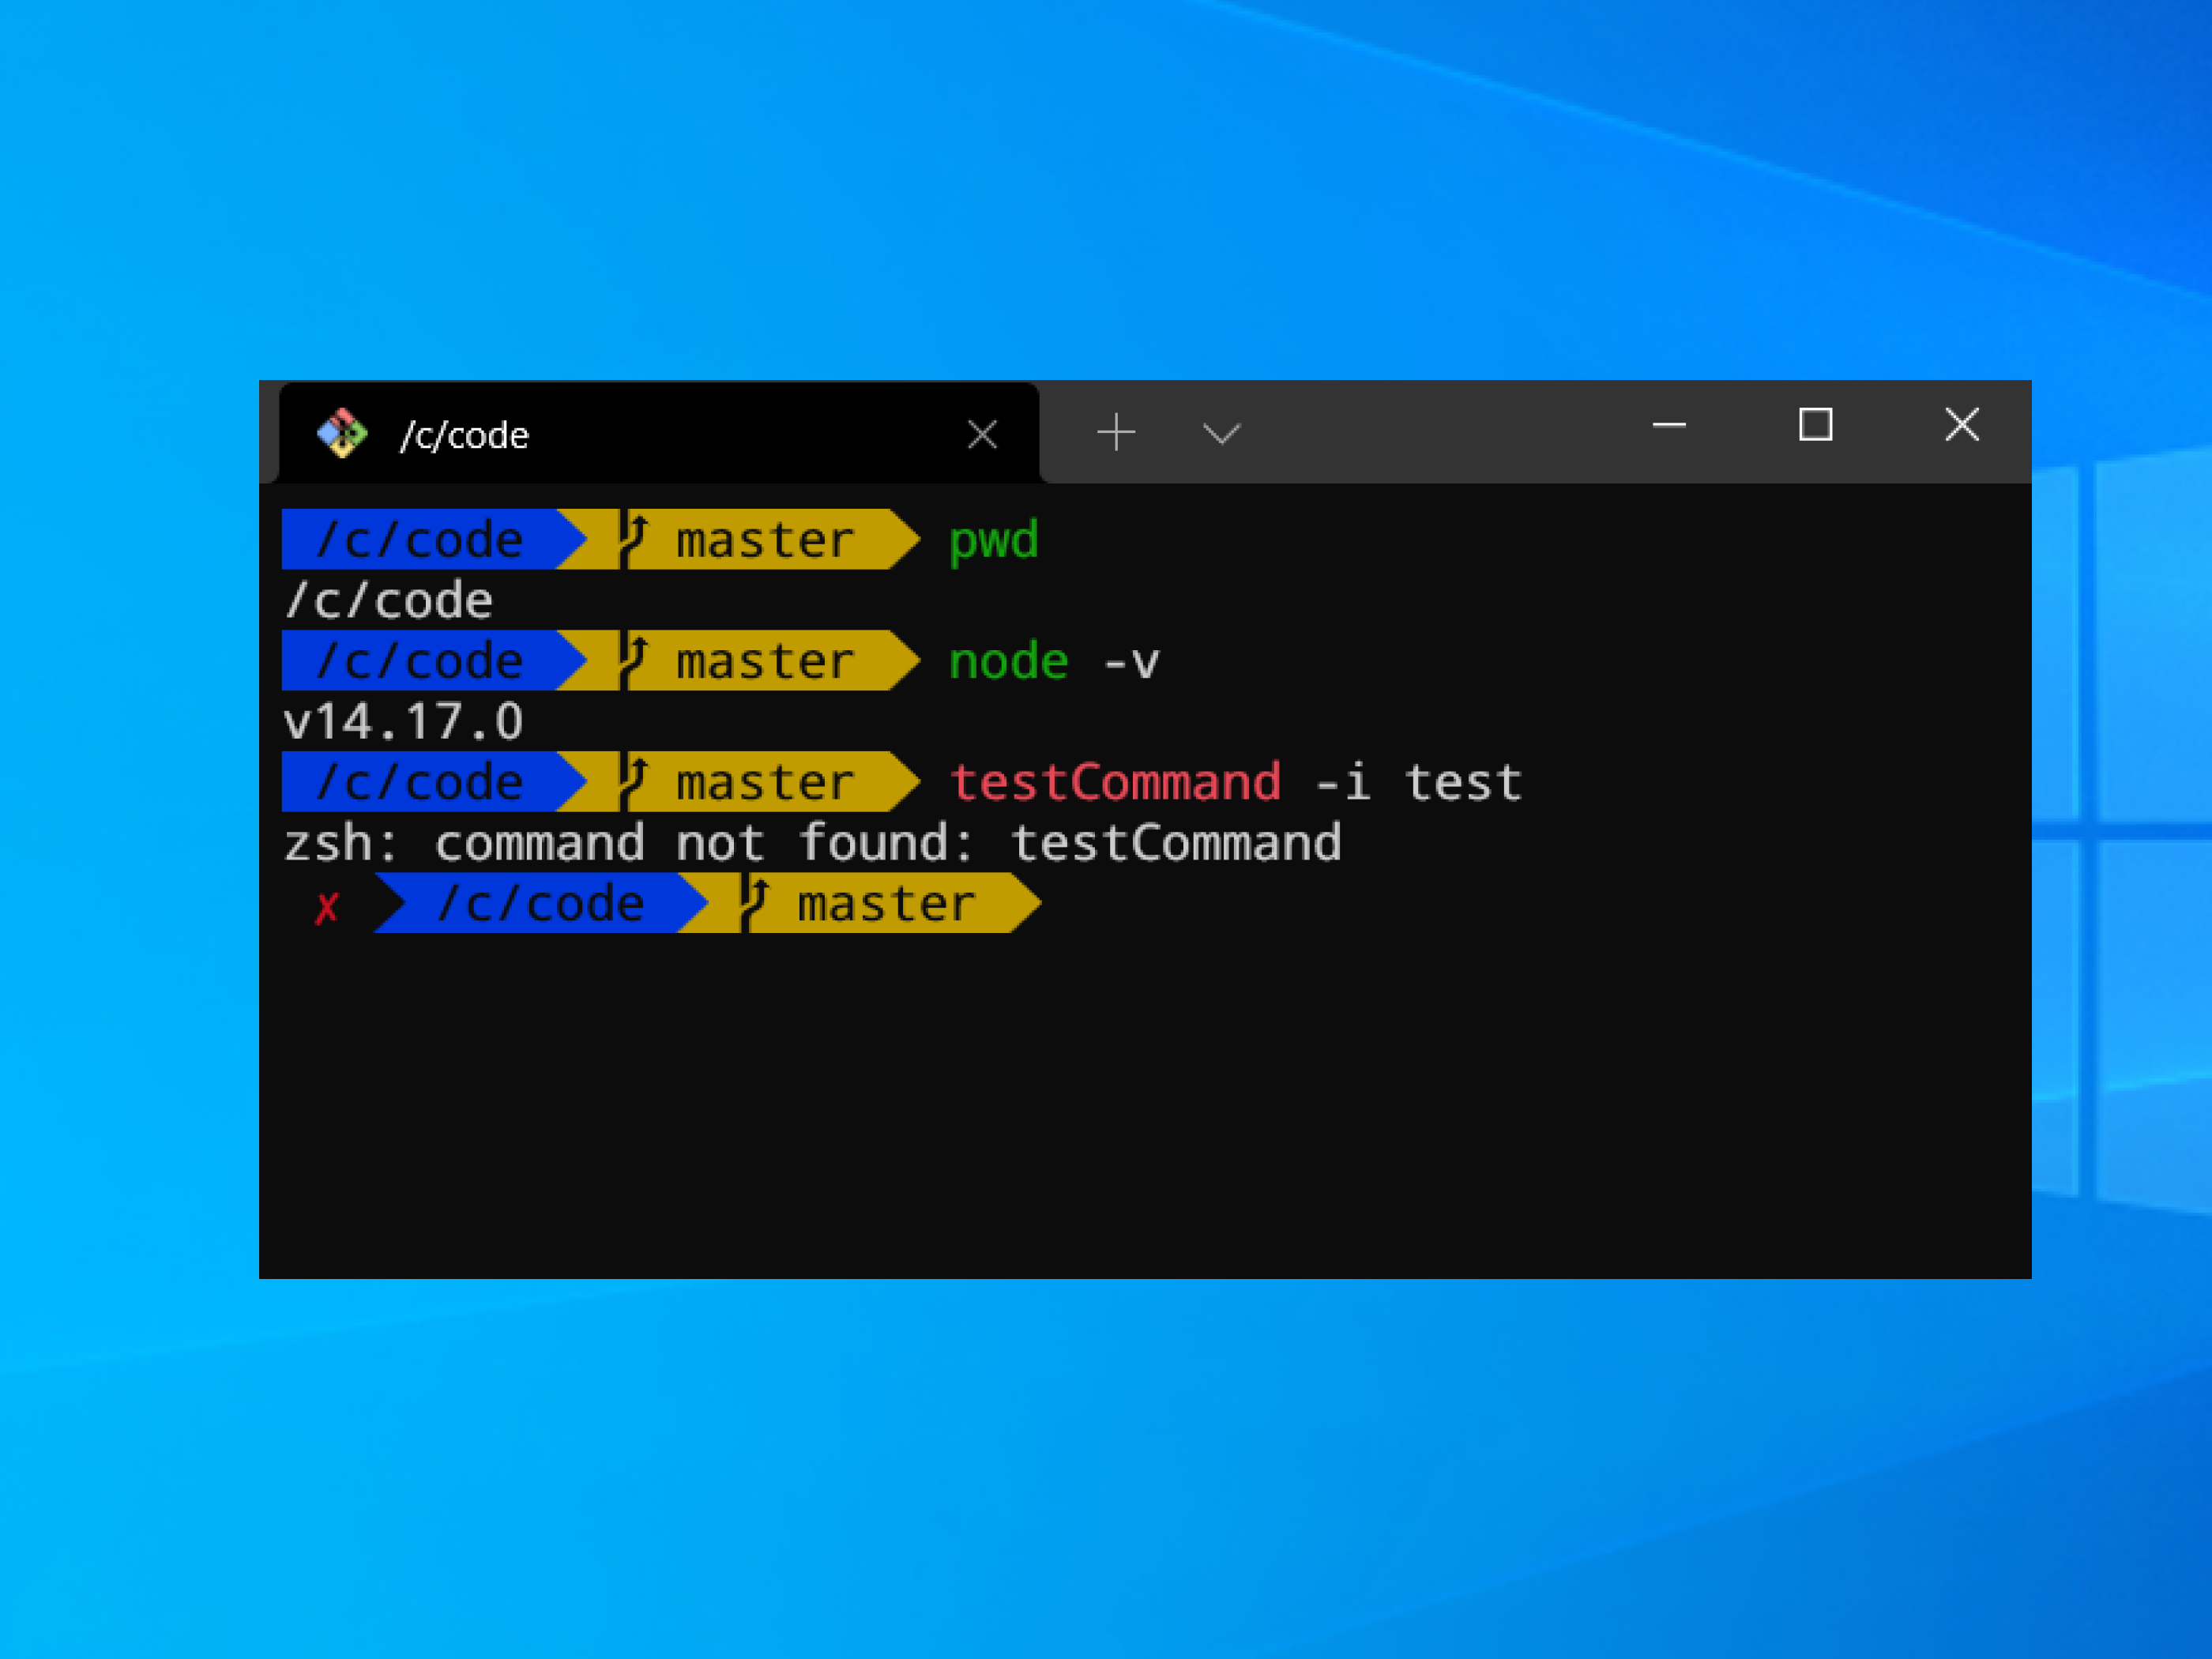
As macOS has replaced bash with zsh since Catalina, I decided to use zsh on Windows too, so that I have an unified experience across 2 different OS, with the same (or similar) .zshrc config.
It turns out it is not as straightforward as I initially thought.
TLDR: My advice is to stick with git bash for Windows as it is good enough for most cases. (See my 1-minute guide on How to add Git Bash to Windows Terminal) If you are as experimental as I am, please proceed ahead.
There are 2 options to install zsh on Windows. We can either install zsh on WSL or replace the git bash shell with zsh. See Git Bash vs WSL.
Prerequisties
You may need these software installed on your Windows machine to follow this guide.
Install zsh on WSL
Use this method if you are already using WSL for most of your stuff.
This is the easier option; we just have to run the following commands in the Ubuntu shell.
sudo apt update
sudo apt install zsh -y
# install oh-my-zsh to set zsh as default shell and install plugins
sh -c "$(curl -fsSL https://raw.github.com/ohmyzsh/ohmyzsh/master/tools/install.sh)"
You are good to go at this point. You may continue to watch the following video or read the companion blog post by Christian for more tips on this method.
Replace Git Bash with zsh
This is my preferred choice as git bash is easier for me to maintain due to the differences in the file directory with WSL. Most of my files are stored in the Windows file system and I use Chocolatey to manage my installation packages.
For this method to work, we need pacman but it is not included with Git for Windows by default.
At this point, we have 2 options:
- Install Git for Windows SDK
- or, download pacman separately
Git for Windows SDK has a huge disk footprint of 5.33 GB as compared to a typical installation of Git for Windows which is only about 840 MB.
Hence, restoring pacman is a much more reasonable option.
Restore pacman in Git for Windows
Huge thanks to Michael Chen
- Run the following commands to download /etc/pacman.conf and 3 packages: pacman, pacman-mirrors and msys2-keyring
curl https://raw.githubusercontent.com/msys2/MSYS2-packages/7858ee9c236402adf569ac7cff6beb1f883ab67c/pacman/pacman.conf -o /etc/pacman.conf
for f in pacman-5.2.2-4-x86_64 pacman-mirrors-20201028-1-any msys2-keyring-1~20201002-1-any;
 do curl https://repo.msys2.org/msys/x86_64/$f.pkg.tar.xz -o ~/Downloads/$f.pkg.tar.xz;
done
- Unpack them at the root then restore pacman with these commands
cd /
tar x --xz -vf ~/Downloads/msys2-keyring-1~20201002-1-any.pkg.tar.xz usr
tar x --xz -vf ~/Downloads/pacman-mirrors-20201028-1-any.pkg.tar.xz etc
tar x --xz -vf ~/Downloads/pacman-5.2.2-4-x86_64.pkg.tar.xz usr
mkdir -p /var/lib/pacman
pacman-key --init
pacman-key --populate msys2
pacman -Syu
- The next two commands restore all matching metadata. The second command is multi-line but still safe to cut and paste (be patient):
URL=https://github.com/git-for-windows/git-sdk-64/raw/main
cat /etc/package-versions.txt | while read p v; do d=/var/lib/pacman/local/$p-$v;
 mkdir -p $d; echo $d; for f in desc files install mtree; do curl -sSL "$URL$d/$f" -o $d/$f;
 done; done
- Refresh pacman keys (to avoid this issue)
pacman-key --refresh-keys
- Install zsh!
pacman -S zsh
- Add the following line to
.bashrcto switch from git bash to zsh whenever executing git bash.
bash -c zsh
Install oh-my-zsh, theme, plugins and all the good stuff!
- I use a fairly simple .zshrc config with agnoster theme, and plugins like zsh-autosuggestions, zsh-syntax-highlighting If you want to take a look at my latest configuration, you can check out my dotfiles.
Extras
Update: added this section after a week of using zsh on Windows.
Using both Git Bash and zsh on Windows
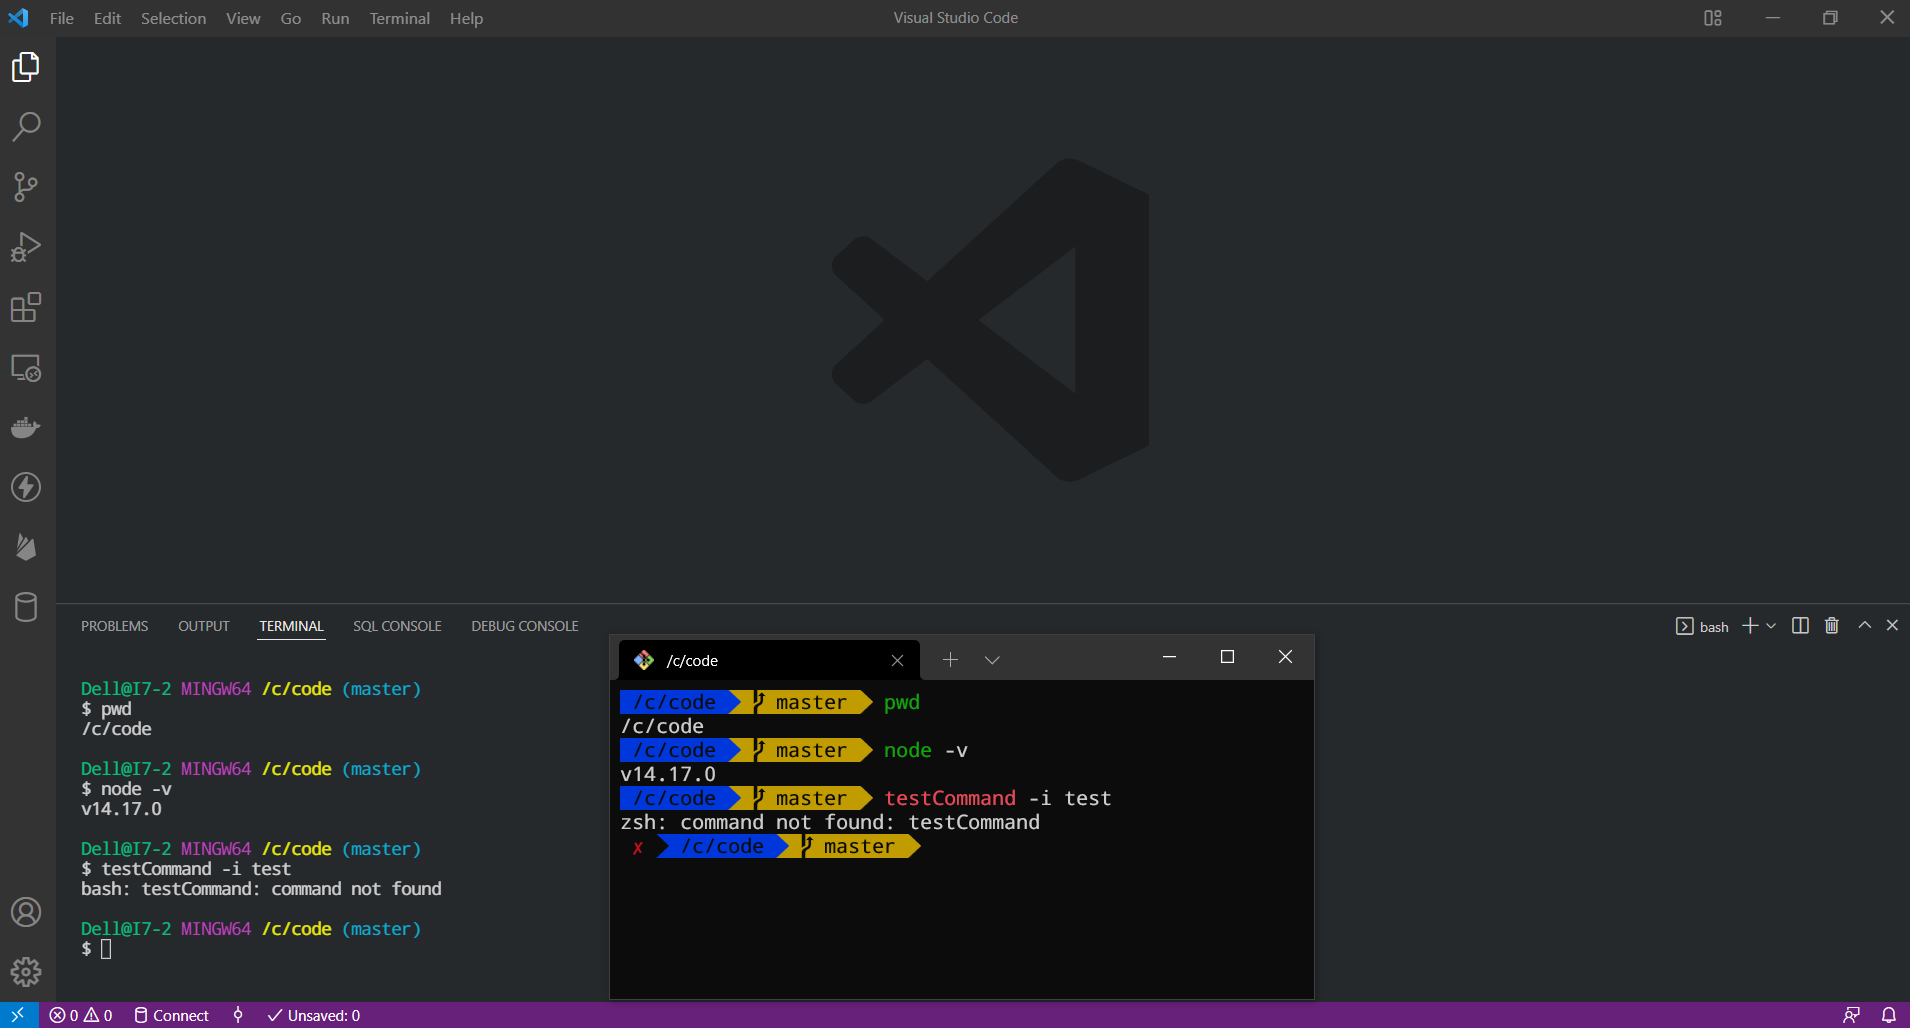
After setting up zsh on Windows Terminal, I noticed that zsh is extremely slow within VSCode and freezes from time to time. As there isn't much documentation on this, so I have decided to fall back to using git bash in VSCode for the time being.
However, it seems that there is no simple way to load different .bashrc files so that I can switch between git bash and zsh easily.
This is a little hack to make this work.
- comment out the line mentioned above in my
.bashrcto switch to zsh
# bash -c zsh
- Add a
switch-to-zsh.shscript into my user directory
#!/bin/bash
bash -c zsh
Execute
switch-to-zsh.shonly with Windows Terminal. by adding"commandline": "C:/Program Files/Git/bin/bash.exe --login switch-to-zsh.sh"to my Windows Terminal settings.json.Viola! I get to enjoy the speed of running git bash within VS Code and use zsh on Windows Terminal!
One caveat of this setup is that I have to maintain both .bashrc and .zshrc and make sure my alias and path variables are set up in both files. This is a fairly small cost for me to enjoy both shells on my machine.
References
Awesome WSL / WSL2 Windows Terminal, zsh, oh-my-zsh, Powerlevel10k
Package management in Git for Windows (Git Bash)? - Stack Overflow
Using WSL and Windows Git Bash interchangeably · Specialising Generalist
shell - How to run a script with Git bash with custom bashrc? - Stack Overflow