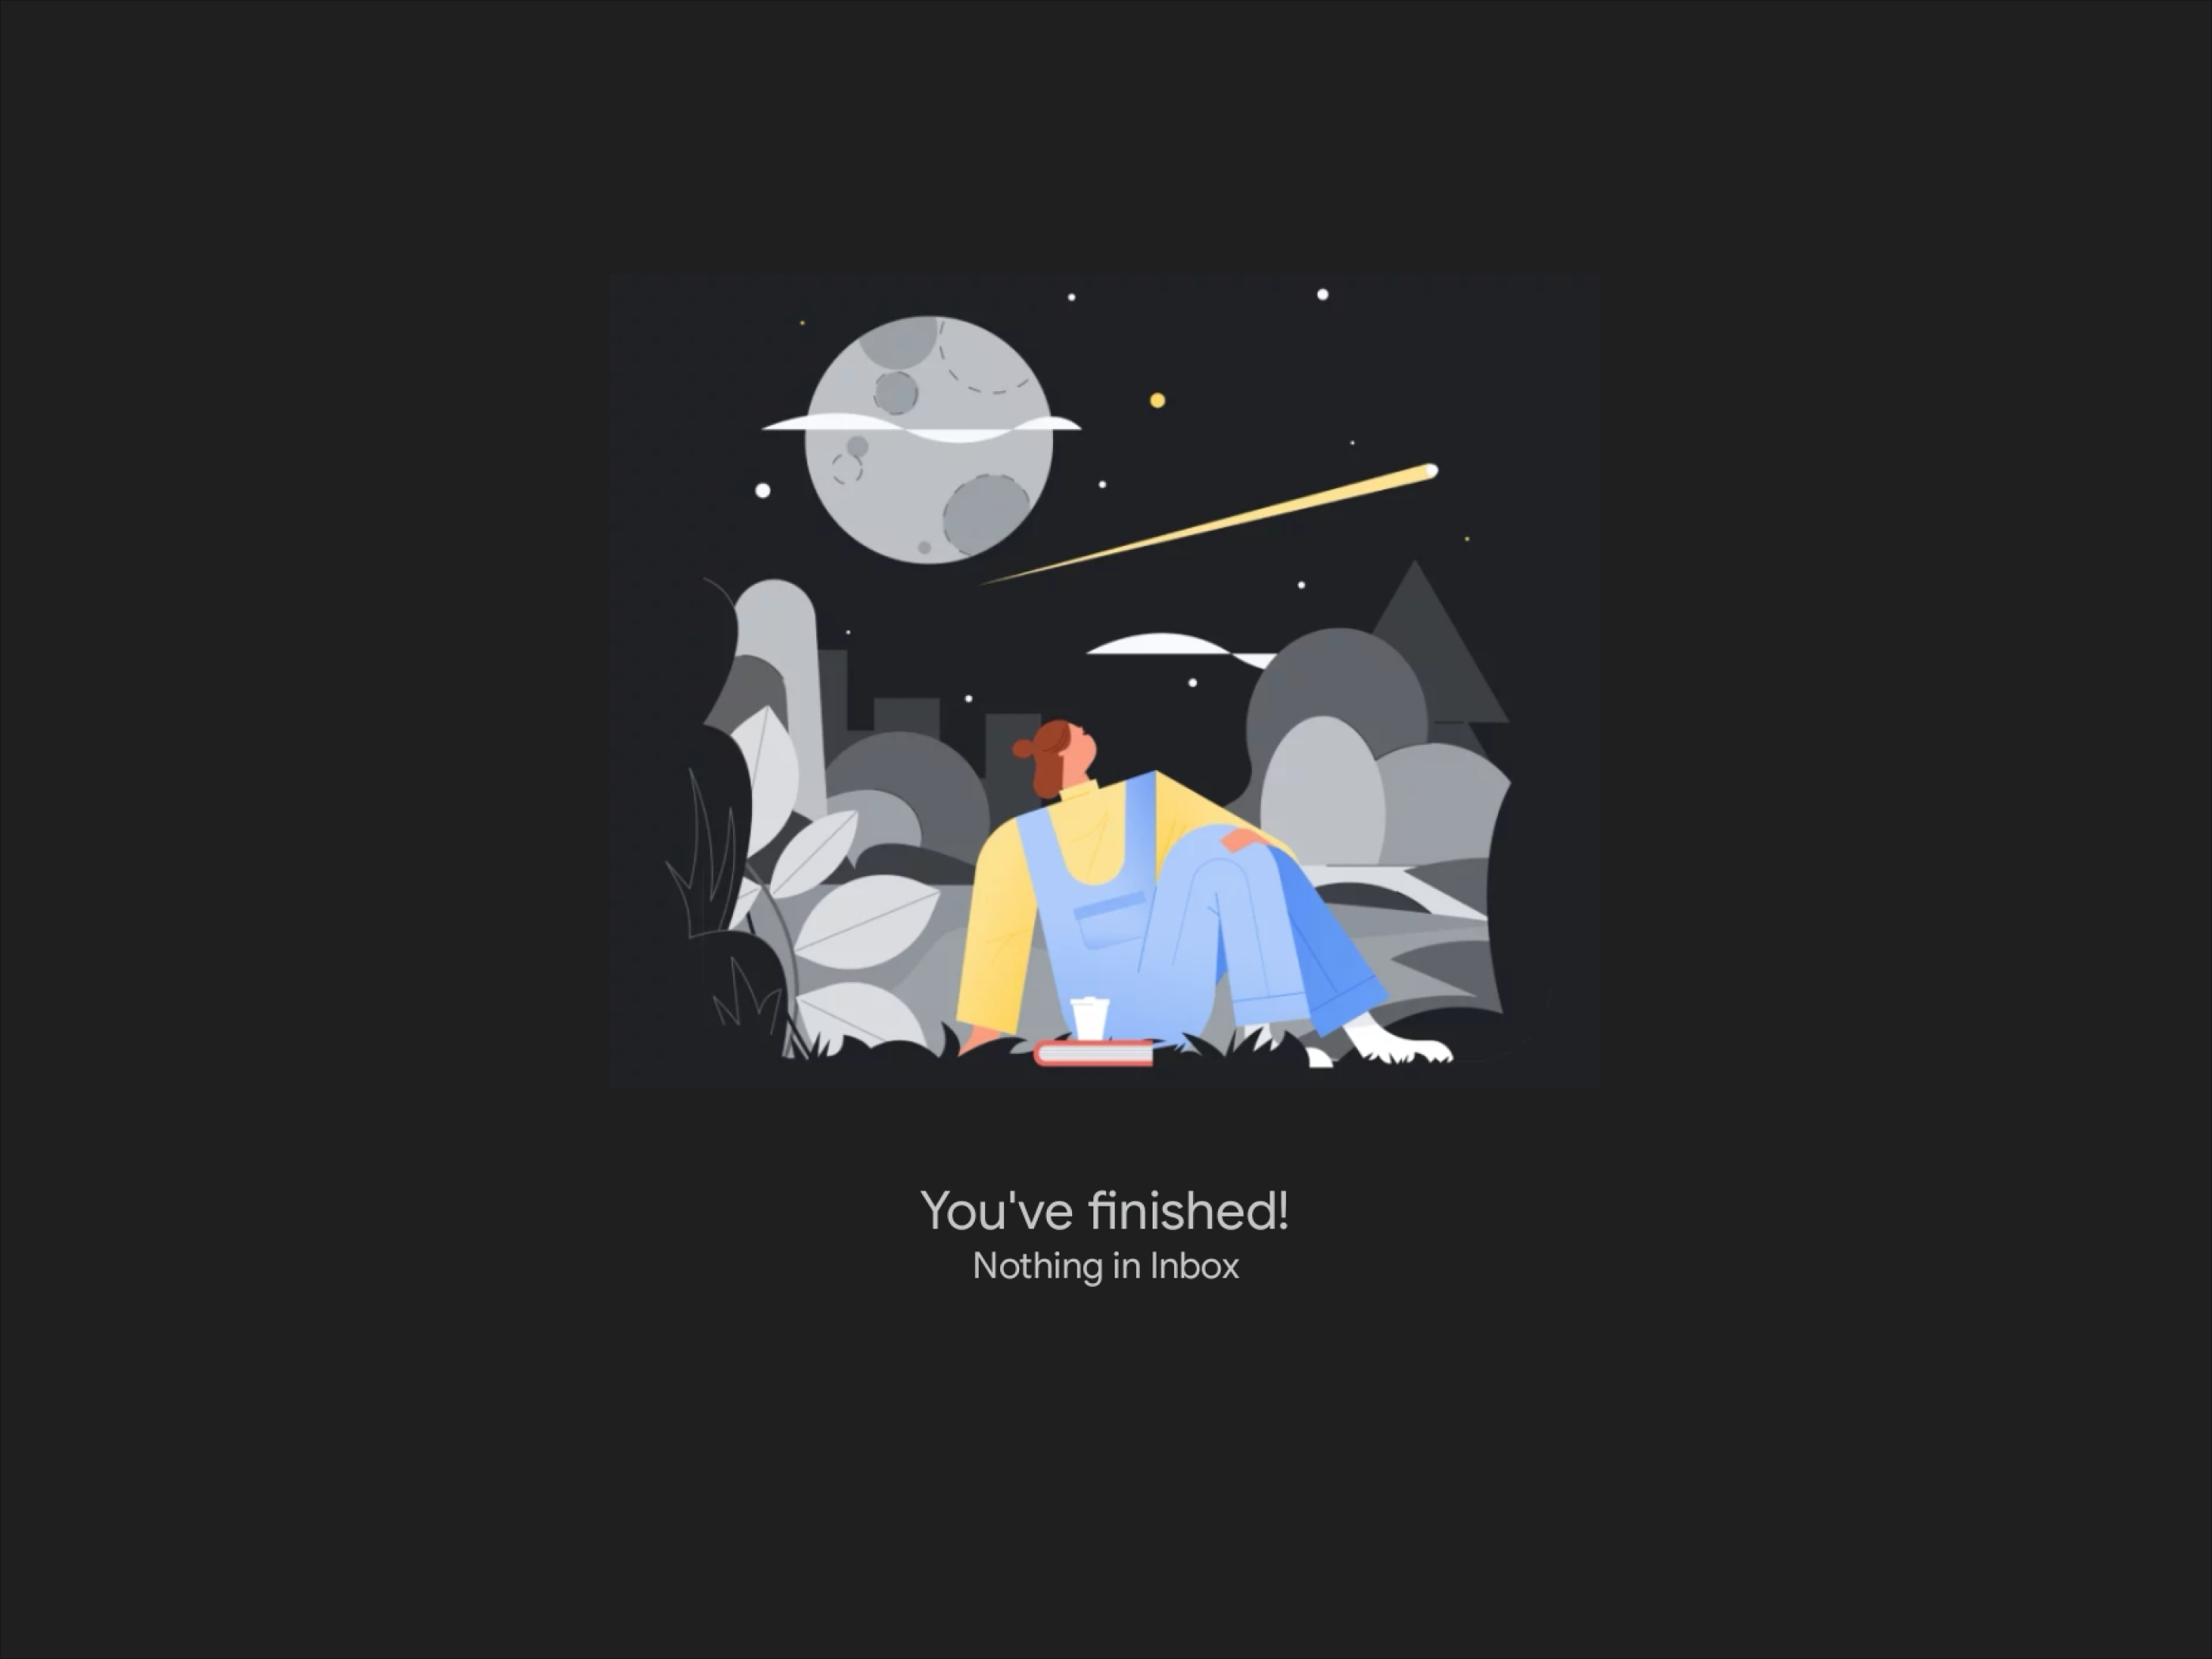
Achieving Inbox Zero
TLDR: Did Inbox Zero make me significantly more productive? No, but it gives me peace of mind knowing I have an efficient system to go through a cluttered inbox as quickly as possible.
About two weeks ago, the Youtube algorithm introduced me to a Productivity Youtuber called Jeff Su. Being a productivity nerd, I immediately went through some of his videos, searching for some productivity gems that I might have missed all of my life. It turns out "Inbox Zero" is the gem I was looking for.
What is Inbox Zero?
Inbox Zero is a method of email management that aims to keep the inbox empty (or almost empty) at all times. Introduced by productivity expert Merlin Mann, productivity suffers when an inbox is confused with a "to do" list.
There are five possible actions for each message: delete, delegate, respond, defer and do. By quickly deciding which actions to perform for a new email, we can go through unread emails quickly.
Why Now?
All this while, I am the guy that keeps everything in the inbox. Unless the email subject looks like something that requires my action, I will leave it unread in the inbox. Over the years, the unread emails have accumulated to almost five figures, at which I will do some quick purging of obsolete emails like expired promotions etc. The cycle repeats every couple of months, and it is mildly annoying.
How to Inbox Zero
I suggest watching Jeff's video first; my steps complement his methods.
1. Setting Your (Preferred) Layout
Jeff recommended using the Multiple Inboxes option in his video, but he did not mention that you will lose the reading pane in this layout. I prefer to have the reading pane, so I opt to use the Priority Inbox instead. The Priority Inbox can be changed to show all emails from a single label. It is more restrictive than Multiple Inboxes in terms of email queries, but it can still work. I configured mine to show all from Follow-Up, Waiting and Read-Through, respectively.
2. Creating Action Labels
The most common way of using labels is to categorize your email based on type, for example, school, work, personal etc. (at least that was how I used it before Inbox Zero.) One of the primary building blocks of Inbox Zero is action labels; labels that you assign based on the action you are required to take, for example,
- Follow-Up (Red): Emails that require your action
- Waiting (Yellow): Emails that are pending someone's action
- Reference / Read Through (Green): Emails you may need to refer to frequently (work guides, how-to etc.)
If you already have plenty of labels like that, I suggest that it is a good time to relook the colours of the labels. In my opinion, action labels should be distinct from the "type" labels. Since I used red, yellow, green for action labels, I changed my existing labels that used the same colours to another colour.
I also suggest putting a number for each action label. Instead of Follow-Up and Waiting, we can name them 1 Follow-Up and 2 Waiting. If you don't have any existing labels that start with numbers, this naming convention will push the action labels to the top of the list. It will also appear first on the label, so that they are not hidden away if you have too many labels for a single email. Additionally, labeling email becomes blazing fast. I just have to type l + 1 + Enter to label the email I am reading to the 1 Follow-Up label.
3. Auto-Advance
This is a must-have to go through emails quickly. By default, Gmail redirects you back to your inbox after archiving, deleting or muting a conversation. With the auto-advance setting turned on, we can be redirected to a newer or older email based on your preference. I have set mine to Go to the next (newer) conversation. This setting can be found in Settings > General.
4. Remove the Source of "Spam"
You probably have signed for several newsletters in which the content doesn't interest you anymore if you are like me. It is time to unsubscribe them. There is no need to keep them "just in case". For example, I used to subscribe to several newsletters related to railways and smart mobility during my university exchange days because I was fascinated about my experience travelling around Europe via trains like London Rail and Berlin U-Bahn etc. New developments in the mobility industry may be interesting, but it is no longer relevant to me.
5. Managing Newsletter Using Email Alias
I am still subscribed to some newsletters (less than ten), and these emails are likely to make up the bulk of my incoming emails. In these cases, I used an email alias. Instead of typing walter@gmail.com, I subscribe to these emails using walter+newsletter@gmail.com instead. I can then add an email filter to automatically label these incoming emails and manage them using a single filter.
6. Creating Filters (faster)
I used to create filters in the long-winded way.
- Go to
Settings - Go to
Filters and block addressestab - Scroll through all my existing filters to find the
Create a new filterbutton - Create a filter
I finally switched to the faster way after going through the hassle of clearing my 8000 unread emails. Most of the email filters are based on the from: field. If I want to create a filter to label all incoming emails from Linkedin with the work label, I will do the following now:
- Search for
from:@linkedin.com - Click on
Advanced Searchor the toggle icon toShow Search Options - Click
Create filter
This is so much more intuitive from the method I used to do.
7. Archiving Everything Else
Anything unread beyond 1-2 weeks is pretty safe for me to mark as read and archive. I just have to go through the recent email and add the relevant action labels such as Follow-Up, Waiting or Read-Through.
8. Go Through the Inbox Quickly Using Shortcut Keys
We can go through our inbox quickly when we have the auto-advance option enabled. Then, we can use keyboard keys to go through the email at almost lightning speed.
Some of my most used shortcuts include:
Bring up the shortcut keys guide:       Shift + ?
Add label:                              l + label name
Mark as read:                           Shift + i
Archive:                                e
Delete:                                 j
Mark as Spam:                           !
Select all conversations:               * + a
9. Mobile App Configuration
Jeff suggested using the right swipe for "Archive" and the left swipe for "Move to" for mobile app configuration. Since I configured filters to label my incoming emails automatically, I changed my left swipe action to "Mark as read".
Conclusion
The same principles can be applied to both personal email and work emails. You can even try different layout configurations for your different workspaces. As a software engineer, I may spend less time on email than other job roles; the extra productivity gained is not as significant. However, I still find it rewarding to spend the hours to regain control of my inbox. If you have implemented your own Inbox Zero, mastered all the shortcut keys and you are still addicted for even more speed like Hunter Zolomon, try this.